Welcome to your go-to guide for understanding fence costs in New Zealand. Whether you’re planning to install a new fence or replace an old one, knowing what to expect can save you time, stress, and money. A fence cost calculator NZ tool can give you a quick estimate, but there’s more to the picture, factors like materials, labour rates, property layout, and regional pricing can all affect your final cost. In this post, you’ll learn how to use fence calculators effectively, what costs to expect in 2025, and how to make smart choices whether you’re going DIY or hiring a contractor.
A fence cost calculator NZ helps homeowners estimate the price of installing a new fence based on material type, fence length, and location. On average, fencing in New Zealand costs between $75 to $200 per metre, depending on whether you choose timber, Colorsteel, or PVC. Using a calculator gives a quick estimate, but actual costs can vary due to labour rates, site conditions, and council fees.
Fence Cost Calculator
Total Estimated Cost: NZD $0.00
Table of Contents
Why Fencing Costs Vary In NZ
Fencing costs in New Zealand can differ significantly depending on several key factors. Whether you’re building a fence for privacy, security, or property boundaries, it’s important to understand what influences the final price. This section breaks down the main reasons fencing costs vary so much across the country.
One of the biggest cost factors is the type of material you choose. Timber remains a popular option due to its natural look and affordability. However, other materials like Colorsteel, vinyl (PVC), and composite offer longer lifespans and lower maintenance, but they come at a higher price per metre. For example, timber might cost $75–$120 per metre, while vinyl or steel fencing could range from $130–$200 per metre, depending on the finish and strength.
Labour rates also impact the total cost. Labour in Auckland is typically more expensive than in regions like Invercargill or Palmerston North. Contractors may charge more based on availability, travel time, and demand in each area. If you’re in a rural location, expect to pay more due to travel and transport costs for materials and tools.
Another major factor is your property type and landscape. A flat, accessible section is easier and cheaper to fence than a sloped or uneven one. If your property has difficult access or requires special equipment to dig post holes or clear land, that can drive up both time and labour costs.
Finally, council permits and local regulations can influence the budget. Some areas require resource consent or building consent if your fence exceeds a certain height or is near a road or footpath. These permits may involve fees and inspections, adding to the total project cost.
Here’s a breakdown of what to consider:
- Material Type
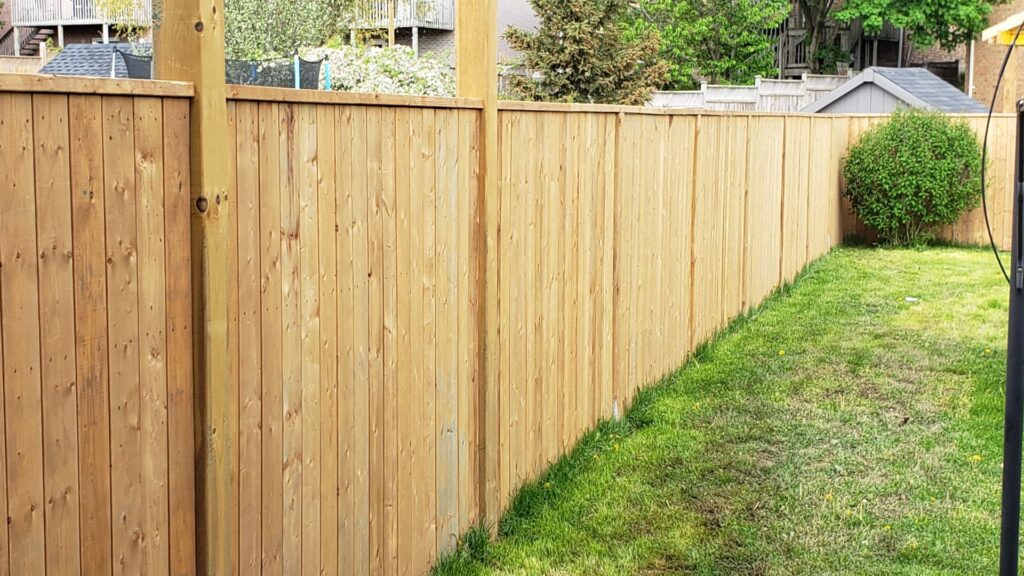
- Timber: Affordable, but needs ongoing maintenance
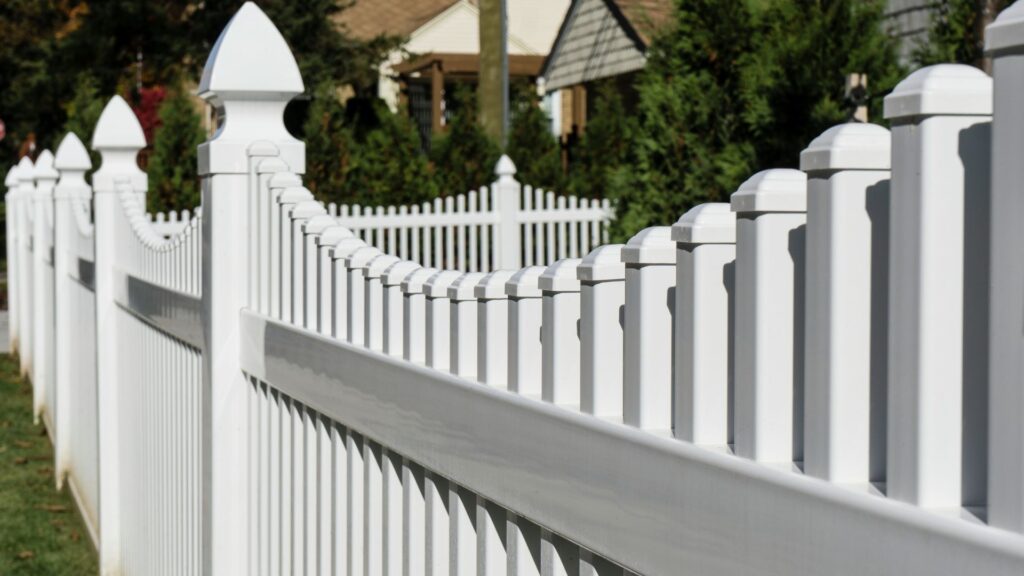
- Vinyl: Durable and low-maintenance, higher upfront cost
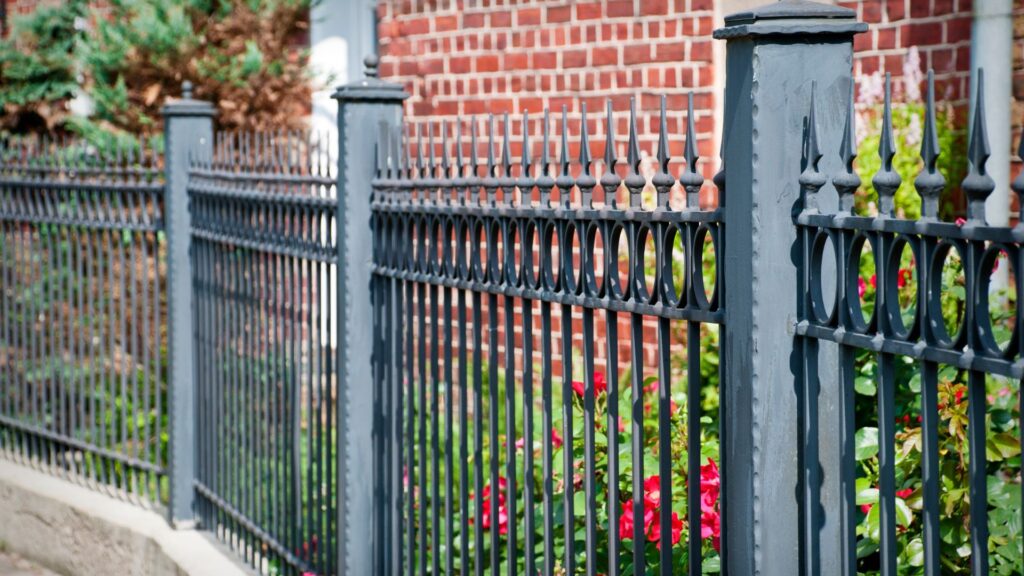
- Metal (Colorsteel): Strong and modern-looking, priced mid-to-high
- Composite: Long-lasting, eco-friendly, usually the most expensive
- Regional Labour Costs
- Higher in major cities like Auckland and Wellington
- Lower in smaller towns or rural areas
- May include travel charges for remote sites
- Property Factors
- Flat land is cheaper and faster to fence
- Sloped or rocky land increases difficulty and cost
- Narrow or blocked access requires more time and effort
- Council Rules And Permit Fees
- Some areas have height limits or design restrictions
- Permits may be needed near public roads or waterways
- Inspection and approval fees vary by council
Understanding these variables helps you plan better and avoid unexpected charges when budgeting for a fence. Use them as a checklist when getting quotes or using a fence cost calculator.
Average Fence Costs In NZ
The cost of building a fence in New Zealand can vary widely depending on the materials you choose. While a fence cost calculator gives a quick estimate, it’s important to understand the typical price ranges per metre for each type of material before making a decision. Below are the average fence costs in NZ for 2025, based on commonly used materials across residential properties.
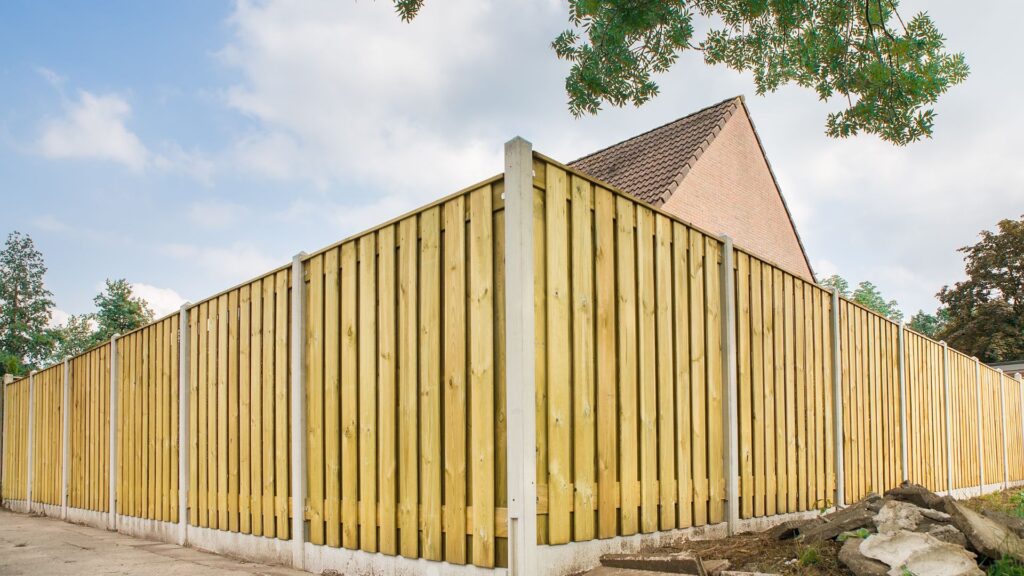
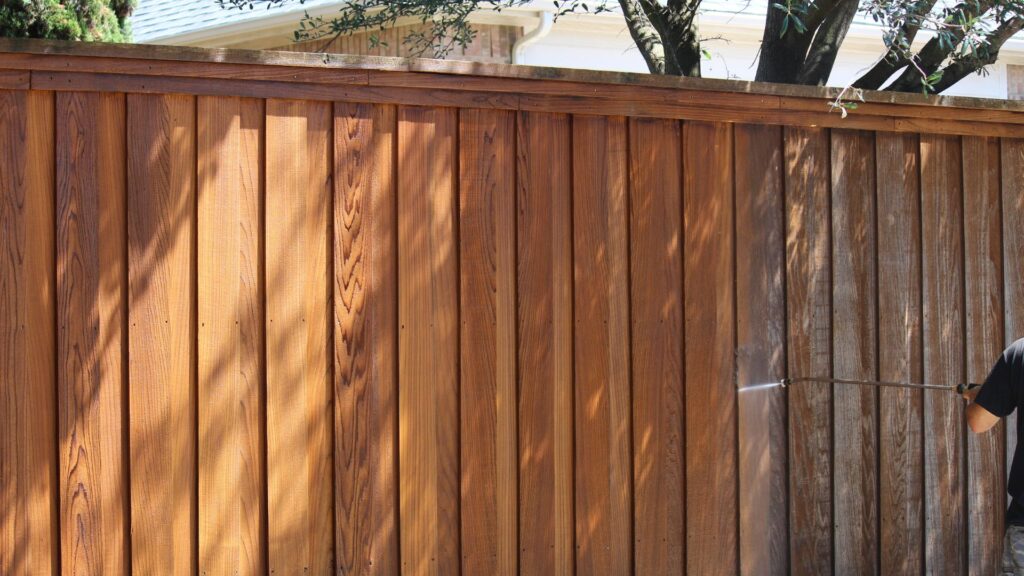
Timber fencing is one of the most popular options in New Zealand due to its natural appearance and lower upfront cost. On average, a timber fence can cost between $75 and $150 per metre. The final price depends on the type of timber used, fence height, and whether you opt for extras like staining or capping. Treated pine is more affordable, while hardwood options such as macrocarpa or cedar cost more due to durability and appearance.
Colorsteel fencing is a strong and low-maintenance alternative that suits both urban and rural properties. It typically ranges from $100 to $180 per metre. This type of fencing is valued for its modern look, weather resistance, and long lifespan. It’s commonly used for boundary fences and privacy screens. While more expensive upfront, its durability can reduce long-term maintenance costs.
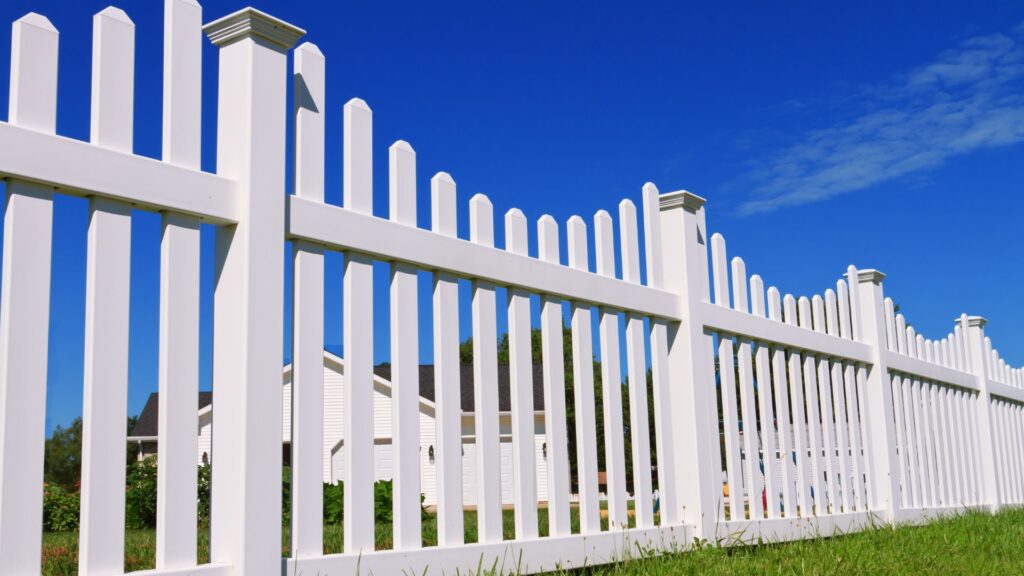
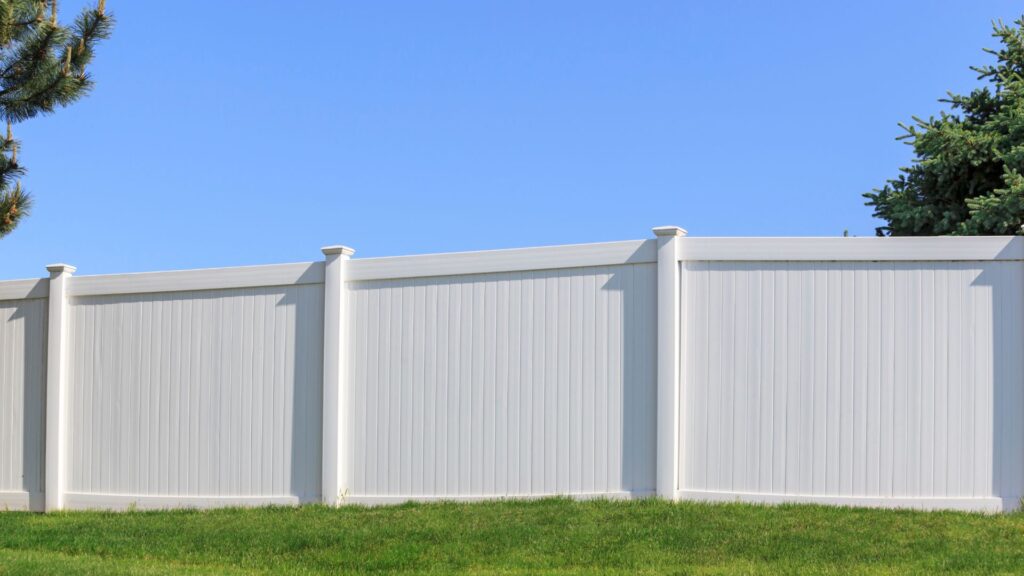
PVC fencing is the most premium option among the three. It generally costs between $120 and $200 per metre. PVC is known for its clean finish, resistance to rot and pests, and virtually no maintenance requirements. Many homeowners choose PVC for front fences or decorative boundaries, where visual appeal and longevity are important.
To help you compare options easily, here’s a breakdown of the average cost per metre by material:
| Fence Type | Estimated Cost Per Metre |
| Timber | $75 – $150 |
| Colorsteel | $100 – $180 |
| PVC | $120 – $200 |
These are general estimates only. Your actual cost may vary depending on location, access, land slope, and whether you’re hiring a contractor or doing the work yourself. Always use a fence cost calculator and request quotes from local installers to get a more accurate figure for your specific project.
What A Fence Cost Calculator Does
A fence cost calculator is a simple yet powerful tool that helps New Zealand homeowners estimate how much it will cost to build or replace a fence. Instead of calling multiple contractors just to get a rough number, you can get a quick ballpark figure in minutes, right from your computer or phone. But to make the most of it, it’s important to understand how these calculators work, what they consider, and what their limits are.
Inputs It Uses: Fence Length, Type, And Location
Every accurate estimate starts with the right information. Most fence cost calculators ask for three key inputs:
- Fence Length – This is usually measured in metres. The total length of the fence has the biggest impact on overall cost, since materials and labour are calculated per metre.
- Fence Type – You’ll need to select the material you want to use. Common options include timber, Colorsteel, PVC, and aluminium. Each comes with its own price range and installation requirements.
- Location – Some calculators ask for your postcode or city. This helps account for regional pricing differences. For example, fencing services in Auckland may cost more than in smaller towns due to higher labour rates.
Some tools also offer advanced inputs like gate additions, fence height, site access conditions, or terrain (flat vs sloped), which help fine-tune the estimate even further.
What It Can And Can’t Estimate
A fence cost calculator can give you a solid starting point, but it’s not a final quote. Here’s what it does well:
- Estimates the base cost of materials and standard installation
- Helps compare costs between different fence types
- Gives a price range based on your location and property size
But there are also limits:
- It can’t assess site-specific factors like tree removal, old fence disposal, or underground services
- It doesn’t factor in council permit costs or special finishes like painting or staining
- It won’t reflect contractor availability or discounts that you might get through negotiation
Always treat the calculator as a guide, not a commitment.
Pros Of Using A Calculator For Planning
There’s real value in using a fence cost calculator early in your planning process. Here’s why:
- Saves time – No need to wait for multiple quotes to get a rough budget
- Helps you compare options – See how timber stacks up against PVC or Colorsteel before talking to a contractor
- Avoids budget shocks – Having a general idea of cost helps you plan realistically and avoid overspending
- Informs conversations with contractors – You’ll know if a quote is in the right range or way off
Even if you still plan to hire a professional, using a calculator first puts you in control of the process.
Popular NZ-Based Fence Cost Calculators
Several local websites offer fence cost calculators made specifically for New Zealand homeowners. These tools are designed with local pricing in mind and are easy to use:
- Zones Landscaping – Offers a straightforward calculator with adjustable fence materials and property size.
- Builderscrack – Lets you compare quotes and view past project costs from real NZ users.
- Fencing Quotes NZ – A simple quote tool that lets you request pricing based on your location and fence type.
Each of these tools can help you get a clear sense of fencing costs before you make any big decisions. Just be sure to follow up with actual quotes if you’re ready to move forward.
DIY Vs Hiring A Fencing Contractor
When planning a fencing project, one of the first decisions you’ll face is whether to do it yourself or hire a professional. Both options come with their own set of pros and cons, and the right choice depends on your budget, experience, timeline, and project complexity. Understanding the true cost difference, the skills required, and the possible risks can help you make a confident decision.
Cost Comparison Between DIY And Hiring A Pro
Many homeowners consider DIY to save on labour costs. On average, hiring a fencing contractor in New Zealand adds an extra $40 to $70 per metre to your total bill. So, if you’re building a 20-metre fence, you could save $800 to $1,400 by doing it yourself.
However, it’s important to remember that DIY isn’t entirely free. You’ll need to budget for:
- Tools (post hole digger, saws, levels)
- Materials (timber, nails, concrete)
- Protective gear
- Delivery fees for heavy items
Hiring a professional may seem more expensive upfront, but their experience often means fewer mistakes, faster completion, and better quality, which can save money in the long run.
Time And Skill Involved
Building a fence takes time, especially if you’re doing it for the first time. A standard timber fence may take a beginner several days or even over a week to complete, including digging post holes, setting posts, aligning panels, and finishing touches.
You’ll also need basic construction knowledge. Mistakes like poorly aligned posts, uneven panels, or weak foundations can shorten the fence’s lifespan and may require costly repairs.
Professionals, on the other hand, bring years of experience. They know how to handle different terrains, avoid underground utilities, and meet local council requirements without delay.
Potential Risks Of DIY (Permits, Damage, Extra Costs)
If you’re not familiar with fencing regulations in your area, you may unintentionally break council rules, especially if the fence is near a boundary or exceeds 2.5 metres in height. This can lead to fines, forced removal, or disputes with neighbours.
DIY also comes with the risk of damaging underground pipes or cables if you don’t check before digging. Add to that the potential for incorrect measurements, structural issues, or having to re-do the work, and each of these problems could wipe out any cost savings.
When It’s Better To Call A Contractor
Hiring a contractor is the smart choice if:
- You have a limited time to complete the project
- The fence design is complex (e.g. sloped land, retaining walls)
- You’re unsure about council requirements
- You want a long-lasting finish without the guesswork
- You’re not confident with tools or manual labour
Professionals also tend to offer guarantees or warranties on workmanship, giving you peace of mind that the job is done right.
DIY Is Best If You Have…
- Basic carpentry or construction experience
- All the necessary tools are on hand
- Plenty of time to plan and build
- A simple, flat site with no access issues
- Confidence in reading measurements and handling materials
- Knowledge of local fence regulations or willingness to research them
Choosing between DIY and a fencing contractor isn’t just about money. It’s about your comfort level, the quality you expect, and how much time you’re willing to commit. Weigh the pros and cons carefully to avoid surprises, and make sure your fence stands strong for years to come.
Hidden Costs To Watch Out For
When planning your fence project, it’s easy to focus only on the main expenses, materials and labour. But many homeowners in New Zealand are caught off guard by hidden costs that can quickly push the budget higher. If you’re using a fence cost calculator NZ tool, it likely won’t include these extra charges, so it’s important to know what to expect. Below are some common hidden costs you should factor in before getting started:
- Fence removal or disposal
If you’re replacing an old fence, you’ll need to remove and dispose of the existing structure. This can cost anywhere from $300 to $800, depending on the size and materials. Some contractors include this in their quote, while others charge separately. - Post holes and concrete
Digging post holes and setting them with concrete adds to both material and labour costs. Rocky or uneven soil can make the job harder, increasing the time and effort required. Expect to spend an extra $20–$40 per post if the ground is difficult to work with. - Painting or staining
Unpainted timber fences need staining or painting to protect against the elements. This isn’t always included in the installation cost. Hiring someone to paint your fence can add $10–$20 per metre, while DIY requires paint, brushes, and time. - Site access difficulties
If your property is hard to access, such as sloped land, tight entryways, or obstacles like trees or retaining walls, contractors may charge extra. These access challenges can slow down the job and require special equipment or additional labour. - Council inspection or resource consent fees
Some areas in New Zealand require council approval, especially if your fence exceeds certain height limits or sits on a boundary. Resource consent or inspection fees can add a few hundred dollars to your overall cost, and delays may happen if approvals aren’t sorted out early.
Being aware of these hidden costs helps you plan more accurately and avoid surprises. If you’re budgeting for a new fence, add a buffer of at least 10–15% above the estimated cost to account for these potential extras. This way, you’ll have a clearer picture of the real investment required for a successful fence installation.
How To Reduce Fencing Costs Without Cutting Corners
Fencing can be a major expense, but that doesn’t mean you have to overspend to get a solid, attractive fence. With smart planning and a few practical decisions, you can lower your fencing costs without sacrificing quality or durability. Here’s how to do it right.
- Compare Quotes From Multiple Contractors
Always get at least three detailed quotes before choosing a fencing contractor. Prices can vary widely between companies, even for the same type of fence. Ask for a full breakdown, including labour, materials, gate installation, and site prep. This lets you spot hidden fees or overpriced services early. Don’t just go for the cheapest, choose the quote that offers fair pricing, clear communication, and proven experience. - Choose Pre-Treated Pine Or Recycled Materials
Pre-treated pine is one of the most cost-effective and widely available fencing materials in New Zealand. It resists rot, insects, and weather damage, which saves you money on maintenance long-term. If you’re open to sustainable options, using recycled timber or steel from demolition yards can also cut down material costs. Just make sure recycled materials are still structurally sound and weather-resistant. - Share Fencing Costs With Neighbours
If your fence sits on a shared boundary, talk to your neighbour about splitting the cost. Under the Fencing Act in New Zealand, you have the legal right to ask for a contribution if both parties benefit from the fence. Make sure you both agree on the fence type, height, and contractor before proceeding. A signed written agreement can prevent future disputes. - Fence Only Where It Matters Most
You don’t need to enclose your entire property to get the benefits of a good fence. Focus on areas that provide privacy, security, or curb appeal. For example, fencing the front yard, driveway, or backyard patio may offer the biggest value. Less-visible areas, like the side or back of a large section, might not need full fencing, or could use cheaper materials.
By taking these steps, you can build a fence that fits your budget while still looking great and standing strong for years. Smart choices now mean fewer repairs and replacements later.
Step-By-Step: Use A Fence Cost Calculator Effectively
Using a fence cost calculator is one of the simplest ways to estimate how much your fencing project will cost. But to get an accurate figure, you need to follow a few basic steps. Many people plug in random numbers and get a ballpark result that doesn’t reflect real-life conditions. To avoid that, here’s a clear step-by-step guide to help you use any fence cost calculator properly.
Step 1: Measure The Boundary
Start by measuring the full length of the area where you want the fence installed. Use a measuring tape or a digital measuring wheel for accuracy. Don’t guess or round off. Be sure to measure every section, especially if your fence line includes corners, slopes, or multiple sides. Accurate measurements are key to getting a realistic estimate from any calculator.
Step 2: Choose Material
Next, select the material you plan to use for the fence. Most calculators will offer options like timber, Colorsteel, PVC, or aluminium. Each material comes with a different cost per metre. For example, treated timber might cost around $90–$120 per metre, while Colorsteel could reach $180 or more. Choosing the right material will greatly influence your overall budget.
Step 3: Input Location
Some fence calculators factor in location to adjust for local labour rates and material availability. Enter your city or region (e.g. Auckland, Wellington, Christchurch) to get a more specific estimate. Labour costs in Auckland are often higher than in smaller towns, so this step helps the calculator fine-tune your result.
Step 4: Factor In Extras (Gates, Painting, Removal)
Don’t forget to include add-ons that affect the total cost. Most homeowners overlook these. If you need a gate, select the size and material. If you plan to paint or stain the fence, add that too. Some calculators also allow you to include old fence removal, post hole digging, or concrete work. These extras can add hundreds of dollars to the final quote, so it’s best to include them early.
Step 5: Compare With 2–3 Quotes
Once you have your estimated total, use that figure as a baseline. Don’t stop there. Contact at least 2–3 local fencing contractors and request written quotes. Compare the materials, labour breakdown, and any additional charges. A calculator gives you a rough idea, but professional quotes help confirm what the real price will be on your property.
If available, consider taking a screenshot or mock sample from the fence cost calculator to keep for reference or to show your contractor when requesting a quote. This also helps you double-check if anything was missed during the planning stage.
By following this method, you’ll not only get a more accurate cost estimate, you’ll also avoid surprise expenses and make better decisions for your fence project.

Real-Life Cost Examples (Optional But Powerful)
When you’re budgeting for a new fence, real-life examples can help you get a clearer picture of what to expect. Online calculators are helpful, but nothing beats actual job data from real homeowners in New Zealand. Below are two case studies from different regions, a suburban property in Auckland and a rural property in Otago, highlighting the differences in cost, materials, and labour.
Case Study: Auckland Homeowner, 20m Timber Fence
A homeowner in Auckland recently installed a 20-metre timber fence along the side boundary of their property. They chose treated pine because of its affordability and traditional look. Here’s the cost breakdown:
- Material: Treated Pine (standard grade)
- Fence Length: 20 metres
- Height: 1.8 metres
- Labour Cost: $80 per metre
- Material Cost: $70 per metre
- Additional Costs: $250 for post hole digging and concrete
Total Estimated Cost:
(20m x $80 labour) + (20m x $70 material) + $250 = $3,850
This job took two full days to complete. Since the property was flat and easily accessible, there were no extra fees for site preparation or equipment rental. The homeowner didn’t require council approval because the fence was under 2.5 metres in height. They also skipped staining or painting to save costs, planning to do it themselves later.
Case Study: Rural Otago Property, Colorsteel Fence
In contrast, a family living on a rural property in Otago decided to install a Colorsteel fence along a section that bordered an open paddock. They wanted a modern look with low maintenance and higher durability.
- Material: Colorsteel (pre-painted steel panels)
- Fence Length: 30 metres
- Height: 1.8 metres
- Labour Cost: $95 per metre (higher due to travel and remote location)
- Material Cost: $110 per metre
- Additional Costs: $400 for transportation, $300 for rural council consent
Total Estimated Cost:
(30m x $95 labour) + (30m x $110 material) + $700 = $6,850
This project took four days due to difficult terrain and limited access. Unlike the Auckland example, this installation required additional tools for drilling post holes in stony soil. The rural location also meant higher labour and transportation costs, which added to the final bill.
Side-By-Side Cost Comparison
| Feature | Auckland Timber Fence | Otago Colorsteel Fence |
| Fence Length | 20 metres | 30 metres |
| Material | Treated Pine | Colorsteel |
| Labour Rate | $80/m | $95/m |
| Material Cost | $70/m | $110/m |
| Total Cost | $3,850 | $6,850 |
| Additional Requirements | Minimal | Council consent, transport |
| Project Duration | 2 days | 4 days |
These examples show that fencing costs can vary greatly based on location, material, site conditions, and added extras. If you’re planning your own project, consider getting at least two local quotes and comparing them with a cost calculator to ensure accuracy. Real-life data like this can help you budget realistically and avoid surprises.
Ready to plan your fence project? Use our fence cost calculator and get a tailored estimate in minutes. Visit us to get started.
FAQs: About Fence Cost Calculator In NZ
How much does it cost to build a fence in New Zealand?
Fence installation in NZ typically ranges from $75 to $200 per metre. The price depends on the material (e.g. timber, PVC, Colorsteel), location, labour, and site conditions.
What is a fence cost calculator, and how does it work?
A fence cost calculator is an online tool that estimates your total fencing cost based on inputs like fence length, material type, location, and optional extras such as gates or painting.
Are online fence cost calculators accurate?
Fence calculators give a close estimate but may not reflect site-specific conditions like land slope, removal of old fencing, or council permit fees. Always compare with professional quotes.
What fencing material is the most affordable in NZ?
Treated pine or basic timber is usually the most budget-friendly option, costing around $75–$120 per metre. PVC and Colorsteel tend to cost more but require less maintenance.
Do I need a permit to build a fence in NZ?
You generally don’t need a permit for fences under 2.5 metres, but local council rules may vary. Always check with your local council if you’re unsure.
How long does it take to install a fence?
Installation can take 1 to 5 days, depending on the fence length, terrain, weather, and whether you’re hiring a contractor or doing it yourself.
Can I save money by building the fence myself?
Yes, DIY can reduce labour costs, but only if you have the right tools, skills, and time. Mistakes or delays may end up costing more in the long run.
What hidden costs should I consider?
Common hidden costs include removing old fencing, disposing of waste, concrete for posts, painting or staining, gate hardware, and council inspection fees.
Can I split fence costs with my neighbour?
Yes, if the fence is on a shared boundary, NZ’s Fencing Act allows both parties to share costs. Discuss plans with your neighbour before starting the project.
Where can I find a reliable fencing contractor in NZ?
You can search local directories, request recommendations, or get quotes from trusted fencing professionals online. Always compare at least 2–3 quotes for best value.
Conclusion
Choosing the right fence for your property in New Zealand starts with knowing what you need and understanding how much it will cost. Whether you’re fencing for privacy, security, or style, using a fence cost calculator can give you a clear estimate based on your property size, material preference, and location. While online tools are helpful for budgeting, it’s still smart to compare quotes from experienced fencing contractors to get a more accurate price. Doing so helps you avoid unexpected costs and ensures the work meets local council requirements. If you’re ready to get started, use our free calculator or get a quick quote to start planning your fence today.
About the Author:
Mike Veail is a recognized digital marketing expert with over 6 years of experience in helping tradespeople and small businesses thrive online. A former quantity surveyor, Mike combines deep industry knowledge with hands-on expertise in SEO and Google Ads. His marketing strategies are tailored to the specific needs of the trades sector, helping businesses increase visibility and generate more leads through proven, ethical methods.
Mike has successfully partnered with numerous companies, establishing a track record of delivering measurable results. His work has been featured across various platforms that showcase his expertise in lead generation and online marketing for the trades sector.
Learn more about Mike's experience and services at https://theleadguy.online or follow him on social media: